Dot Painting: The Meditative Hobby r/hobbies Can’t Stop Talking About (Beginner’s Guide)

Dot painting for beginners is one of the kindest crafts a newcomer can pick up. You need no drawing ability at all. Each piece is built from nothing but small, carefully placed dots of acrylic paint, and the rhythm of making them feels oddly calming. This guide covers exactly what to buy, how much it costs, the step-by-step method, and the mistakes that trip up most first-timers.
If you’ve been hovering around hobby forums and social feeds lately, you’ve probably seen it: stones, coasters, and canvases covered in perfect, symmetrical dots. There’s a reason this craft keeps popping up in online hobby communities. It asks almost nothing of you and gives back something genuinely beautiful.
What Exactly Is Dot Painting?
Dot painting means building a design entirely from dots of paint. The dots vary in size and colour, and are arranged in repeating patterns – most famously mandalas, those circular, symmetrical designs you see on stones and canvas. The craft’s deeper roots run back centuries: Indigenous Australian artists have used dot-like techniques for generations to tell stories and mark a sacred connection to the land, as Paintersdiary’s beginner guide explains. The modern DIY version is looser and simpler, and you don’t need to copy any tradition to enjoy it. You’re borrowing the technique, not the meaning.
The meditative bit is real, and it’s why people keep doing it after the novelty wears off. Each dot demands a moment of attention: load the tool, press it down, lift. Repeat. That loop is slow enough to quiet a busy mind but engaging enough that boredom never gets a look in. Many dotters say it scratches the same itch as adult colouring books, with a more impressive result at the end.
Dot Painting for Beginners: What You Actually Need
The supply list is short. According to the same Paintersdiary guide, acrylic paint is the go-to choice because it’s thick enough to hold its shape, which is exactly what makes crisp, precise dots. Here’s the honest breakdown:
The paint
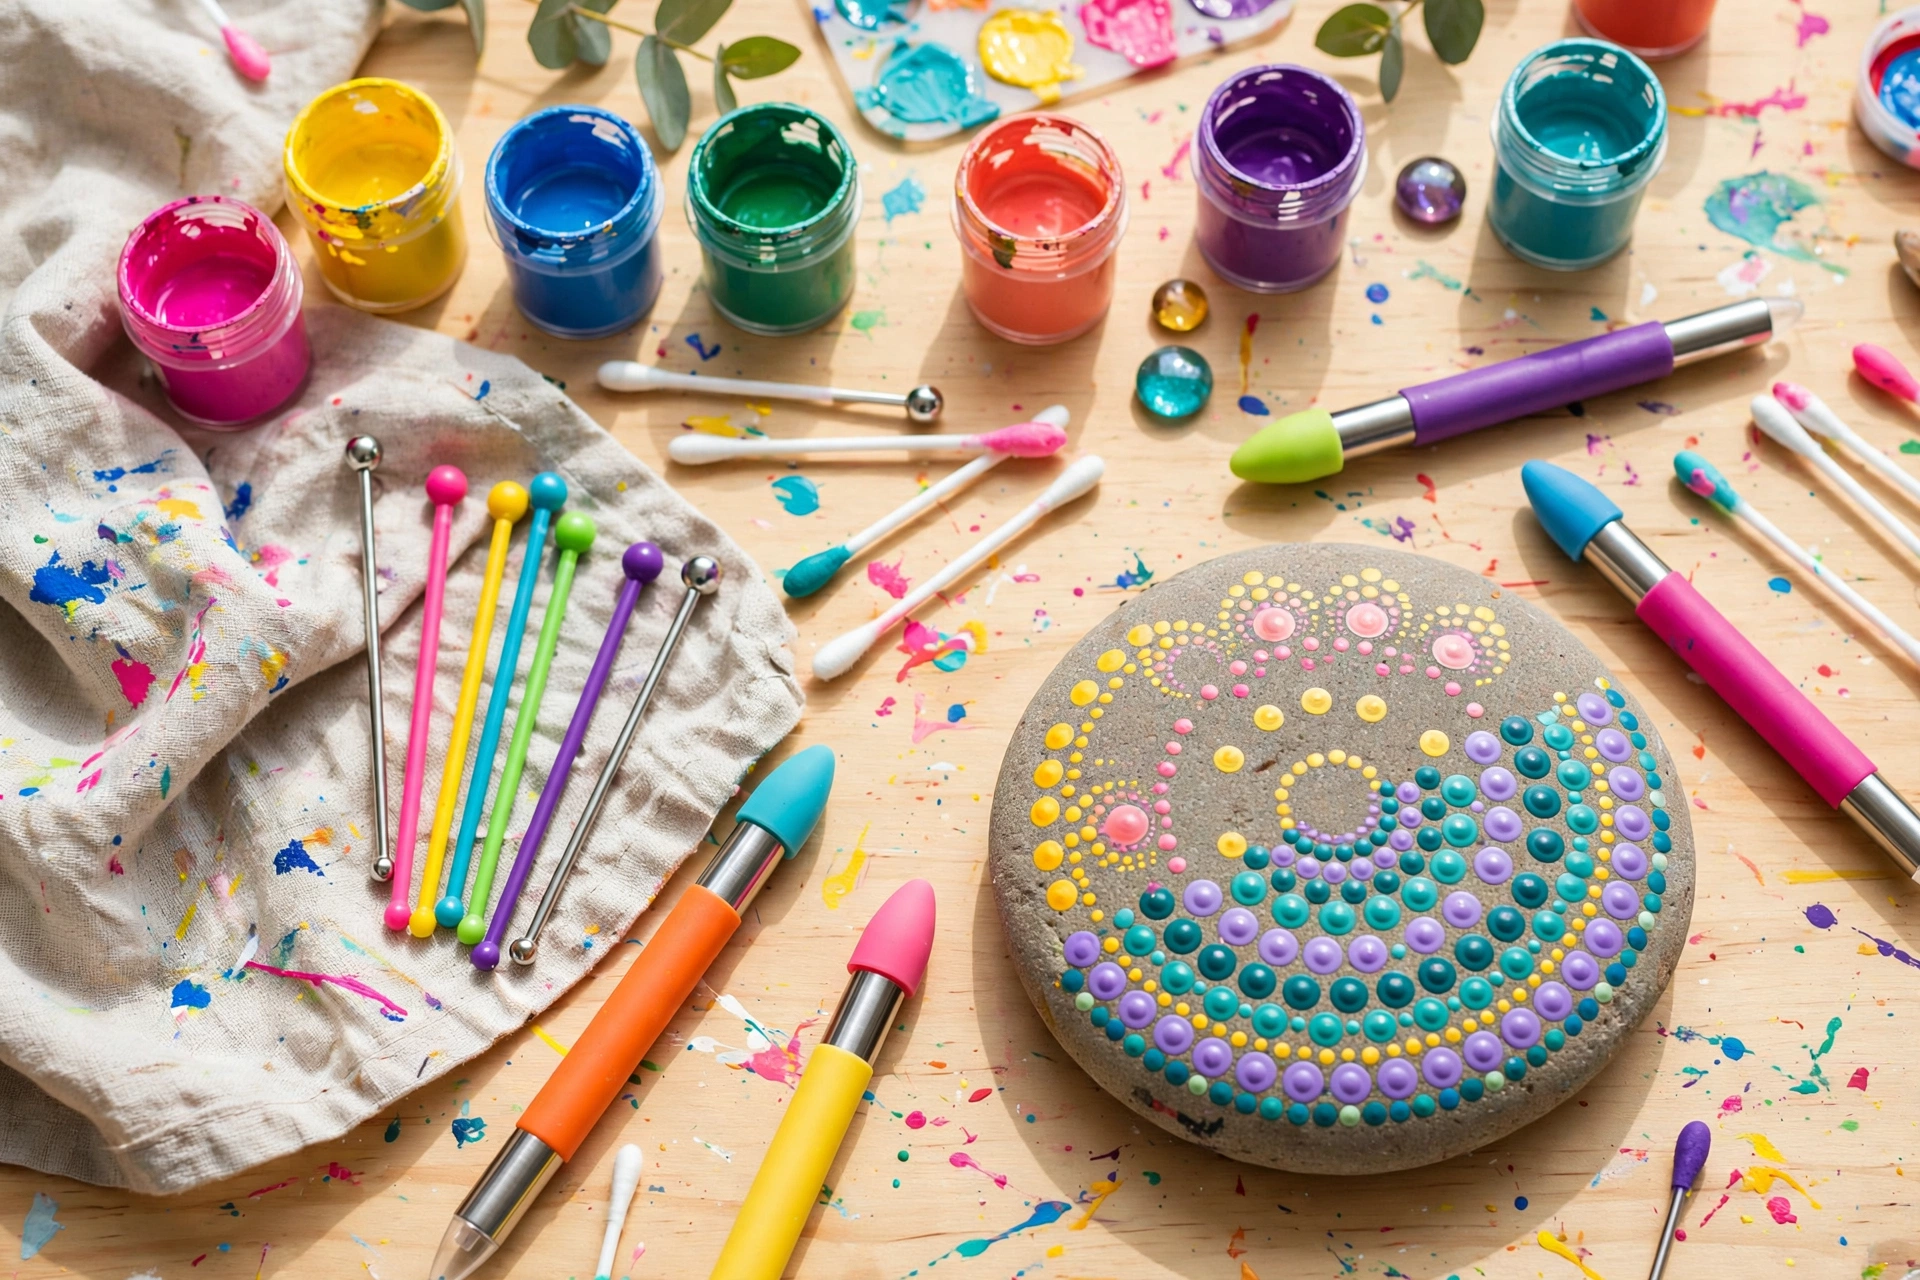
Acrylic craft paint (the small bottles from any craft shop) is perfect. Grab four or five bright colours plus black and white – black makes a dramatic background, white pops against it. A bottle costs very little, and a starter handful of colours is all you need for months. Fancier metallics or glow-in-the-dark paints can come later.
The dotting tools
You have two routes. The zero-cost route: raid your drawers. The blunt end of a pencil, a cotton bud, a toothpick, a chopstick, the rubber end of a pencil, even a nail dotting tool from a beauty kit – all make perfectly good dots. Paintersdiary’s guide lists household items alongside professional tools for exactly this reason.
The upgrade route: a dedicated dotting tool set. These are cheap – usually a handful of plastic rods or styluses with different ball sizes, typically sold for a few pounds or dollars. Consistent sizes make mandalas easier because matching dots look neater. You don’t need one on day one, but it’s the first thing most hobbyists buy once they’re hooked.
The surface
Almost anything works. Beginners usually start on smooth river stones (free from a garden, or a bag of decorative stones from a craft store) or a small canvas panel. Wood slices, plant pots, mugs and glass jars all work too – just use enamel paint for ceramics and seal everything at the end.
The extras
A paper plate or disposable palette, a damp cloth or baby wipes for cleaning tools, a pencil for sketching guidelines, and a clear varnish or sealant to protect the finished piece. That’s it. The total startup cost lands comfortably under what you’d spend on a takeaway dinner for two.
If five minutes a day is all you can spare, this hobby still fits. We wrote about the 5-minute hobby rule for exactly this situation: dot painting is one of those rare crafts where tiny daily sessions add up to real progress, because a mandala grows one dot at a time anyway.
Your First Dot Painting, Step by Step
Start with a simple mandala on a stone. Mandalas are the ideal first project because they’re circular designs built from repetitive patterns – perfect for practising symmetry and consistency, as Paintersdiary’s guide notes. Here’s the process:
- Prep your surface. Wash your stone and let it dry. If it’s rough, give it a coat of base paint (black is the classic choice) and let that dry completely too. A clean, smooth base is half the battle.
- Mark your centre. Find the middle of the stone and put a small chalk or pencil dot there. You can also draw light cross-lines through the centre to keep your dots symmetrical. Guidelines keep you honest.
- Practise on paper first. Before touching the stone, spend ten minutes making dots on scrap paper. Press the tool straight down, don’t drag, and notice how pressure changes dot size: lighter touch, smaller dot. This is the single most important skill.
- Start at the centre and work outward. Load your tool with paint – dip it, don’t scoop – and place your first dot right on the centre mark. Re-dip before every dot. Build rings outward from the middle, alternating colours and tool sizes as you go.
- Let layers dry before stacking. Want a small dot inside a big one? Wait until the big dot is fully dry first, or the colours will smear into a muddy mess. Patience beats speed here.
- Clean tools between colours. A quick wipe on a damp cloth stops colours bleeding into each other. Keep a water jar handy for brushes.
- Seal it when finished. Once everything is bone dry, spray or brush on a clear varnish. This protects outdoor stones from weather and gives the whole piece a satisfying finished glow.
Your first stone will take about an hour, much of it drying time. The second one will be faster, and by the fifth you’ll be placing dots with a steadiness that surprises you.
5 Beginner Mistakes (and How to Dodge Them)
Every hobby has its classic rookie errors. Dot painting’s are all easy to fix:
- Loading too much paint on the tool. A blob gives you a puddle, not a dot. Dip just the tip. You can always add more paint with a second dot.
- Pressing at an angle. The tool should go straight down and lift straight up. Angled dots come out oval and uneven – the most common reason first mandalas look wobbly.
- Not re-dipping between dots. Every dot gets a fresh dip. The second dot from one dip is always smaller and paler, and a ring of fading dots looks unintentional rather than artistic.
- Rushing wet layers. Dotting into a wet base dot drags the underlayer up and muddies both colours. Touch the paint with a clean fingertip: if it’s tacky at all, wait longer.
- Skipping the practice sheet. Ten minutes of dots on scrap paper saves you an hour of fixing mistakes on the real thing. It’s the most skipped step and the most missed.
How Much Does Dot Painting Cost to Start?
Honestly, it’s one of the cheapest creative hobbies going. A rough breakdown: acrylic paints (a small set) and a dotting tool set each cost a few pounds or dollars, plus a bag of stones or a canvas panel. All-in, most beginners spend somewhere in the low teens – and that’s the deluxe version. The budget version (household tools, a few paint bottles, garden stones) costs even less.
Compare that to most crafts, where the entry ticket runs into the dozens, and you can see why dot painting gets recommended so often in beginner-hobby threads. The low cost also removes the performance pressure: when a stone costs nothing, experimenting feels free.
Project Ideas to Try Next
Once the basic mandala clicks, there’s a whole menu of things to dot. Patricia Fentie’s dot-painted garden tutorial shows how you can build scenes (not just mandalas) one dot at a time. Try these next:
- Decorated garden stones – bright geometric patterns that live outside as weatherproof decoration
- Mandala coasters or wood slices – practical, giftable, and quick to finish
- Monochrome studies – one colour on black, which teaches you dot control without colour choices getting in the way
- Painted plant pots – dotted bands or full mandalas that turn a 50p pot into something people ask about
- Personalised mugs – with enamel paint and proper heat-setting, these survive the dishwasher
This craft also pairs well with the older, slower hobbies making a comeback. If the meditative side of dotting appeals to you, you’ll probably enjoy our look at the grandma hobbies making a comeback – there’s a whole quiet-craft renaissance happening, and dotting fits right in.
Why Dot Painting Sticks When Other Hobbies Fade
Most crafts have an ugly-duckling phase: weeks of bad results before anything looks decent. Dot painting mostly skips it. Your first mandala, with wobbly dots and all, still looks like something you made on purpose. That early win matters. It’s the hobby equivalent of a video game tutorial level that’s actually fun.
Then there’s the portability. Your whole kit fits in a shoebox. No electricity, no noise, no dedicated desk. You can dot in front of a film, outside in the garden, or at the kitchen table while dinner simmers. Hobbies that demand a setup ceremony get skipped. Hobbies you can start in ninety seconds get done.
FAQ
Do I need to know how to draw to try dot painting?
No. That’s the whole point. A mandala is built from rings of dots around a centre mark – there are no lines to draw, no shapes to shade. If you can press a tool onto a surface, you can dot paint.
How much does it cost to start dot painting?
A budget start – household dotting tools, a few bottles of acrylic craft paint, and free garden stones – costs very little, typically in the low teens for currency. A dedicated dotting tool set and a canvas panel add only a few more.
What paint is best for dot painting?
Acrylic craft paint. It’s thick enough to hold a clean dot shape, dries fast, and comes in every colour. For ceramics like mugs, use enamel paint so the design survives washing; for outdoor stones, seal with a clear varnish.
How do I get perfectly round, even dots?
Three things: press the tool straight down (no angle, no dragging), re-dip the tool before every dot, and practise on scrap paper first. Consistency of technique beats talent here.
Where does dot painting come from?
The modern DIY version is a recent craft trend, but dot-like painting techniques have deep roots – Indigenous Australian artists have used them for centuries to tell stories and represent their connection to the land, as noted in Paintersdiary’s guide. Today’s mandala-style dotting is a simplified, decorative offshoot of that tradition.

Related Posts
What Is the 2-2-2 Rule for Couples?

What Is the 7 7 7 Rule for Couples?

One thought on “Dot Painting: The Meditative Hobby r/hobbies Can’t Stop Talking About (Beginner’s Guide)”